一、node.js下载安装
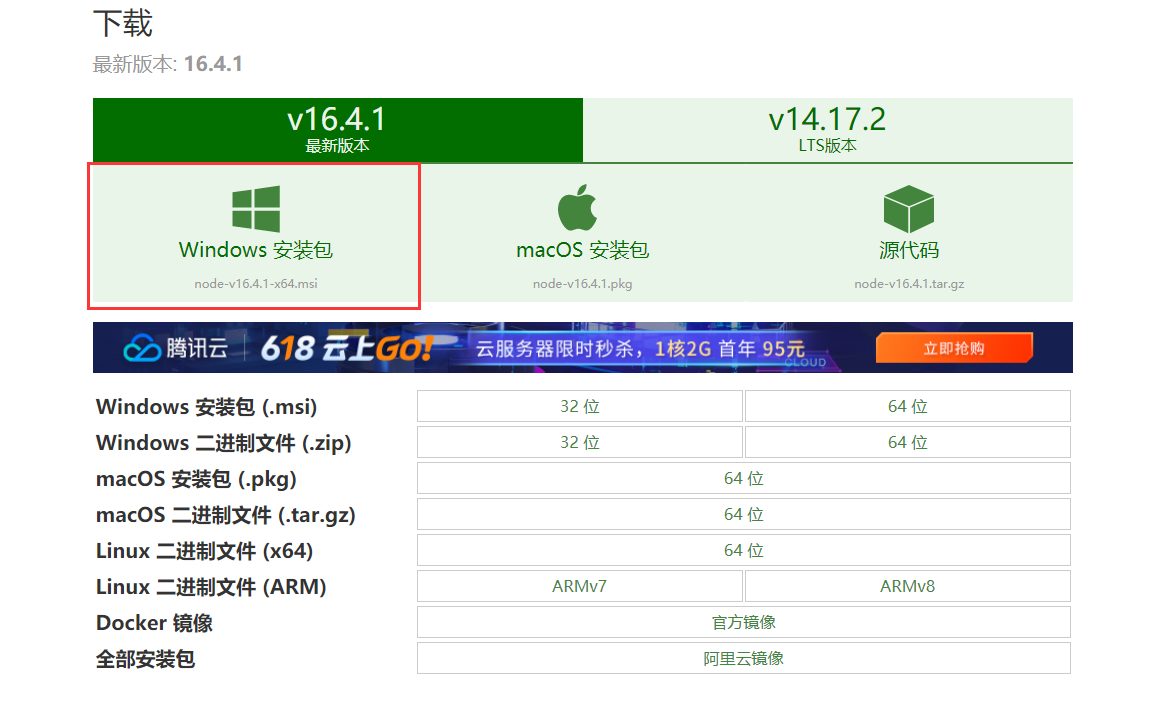
进入node.js
官网下载对应的版本,比如这里下载的是最新的版本:
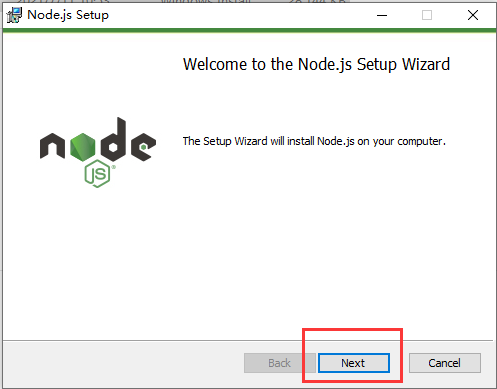
下载完毕后进行安装,点击安装包:
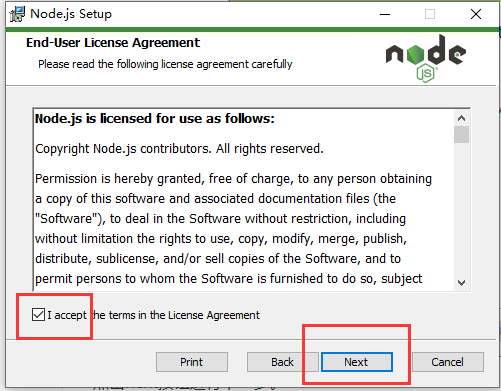
点击next按钮进行下一步:
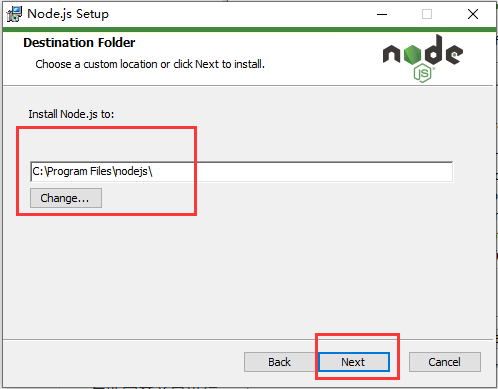
看个人需求是否更改安装目录,一般默认即可,继续进行next:
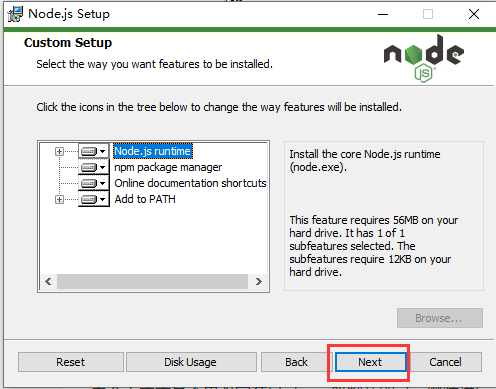
默认安装即可,继续next:

一些必要工具进行安装,勾选然后next即可,此处根据实际项目情况选择是否勾选:
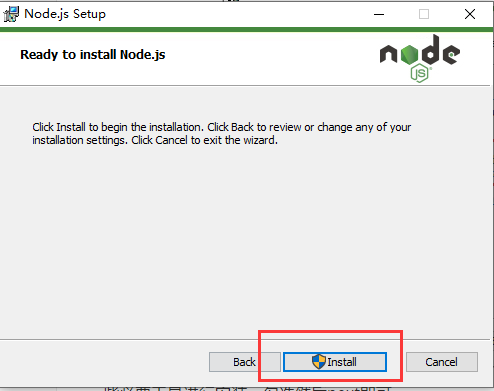
点击install按钮进行安装即可
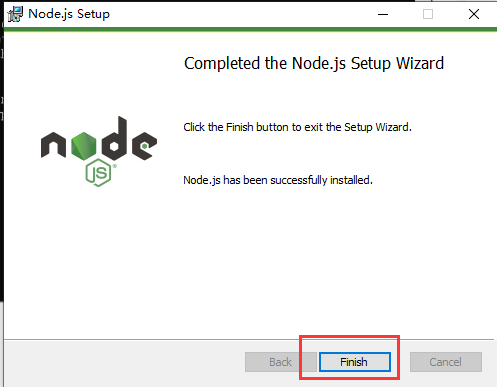
点击Finsh完成安装。
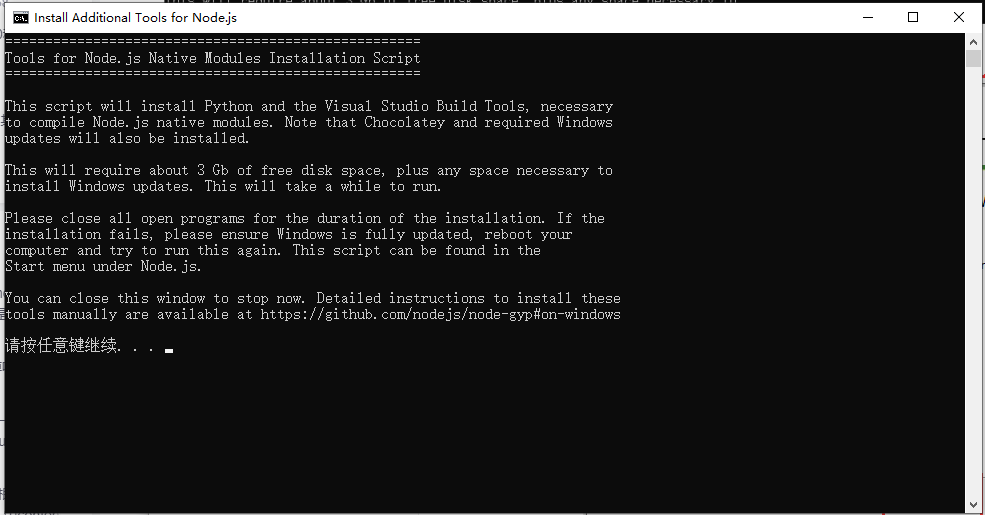
安装完成后会出现上述的窗口,这是提醒你安装额外的工具需要的条件,按任意键即可,等待安装。
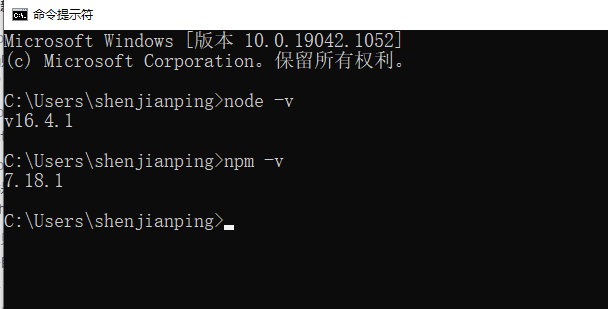
安装完毕后进行测试:
二、配置
主要是进行npm的配置,npm安装包有全局安装以及局部安装,如果是局部安装就会安装到当前的项目目录中,全局安装时所有的项目都可以使用的包。
所以需要设置一下全局安装的目录,如果没有设置就会安装到默认的目录,比如当前的目录就是:
C:\Users\shenjianping\AppData\Roaming\npm
另外就是需要设置一下node缓存的路径。 具体的默认配置可以通过npm root -g查看全局安装目录:
C:\Users\shenjianping>npm root -g C:\Users\shenjianping\AppData\Roaming\npm\node_modules
通过npm config ls -l命令查看更多默认配置:
C:\Users\shenjianping>npm config ls -l ; "default" config from default values _auth = (protected) access = null all = false allow-same-version = false also = null audit = true audit-level = null auth-type = "legacy" before = null bin-links = true browser = null ca = null cache = "C:\\Users\\shenjianping\\AppData\\Local\\npm-cache" cache-max = null cache-min = 0 cafile = null call = "" cert = null ci-name = null cidr = null color = true commit-hooks = true depth = null description = true dev = false diff = [] diff-dst-prefix = "b/" diff-ignore-all-space = false diff-name-only = false diff-no-prefix = false diff-src-prefix = "a/" diff-text = false diff-unified = 3 dry-run = false editor = "notepad.exe" engine-strict = false fetch-retries = 2 fetch-retry-factor = 10 fetch-retry-maxtimeout = 60000 fetch-retry-mintimeout = 10000 fetch-timeout = 300000 force = false foreground-scripts = false format-package-lock = true fund = true git = "git" git-tag-version = true global = false global-style = false globalconfig = "C:\\Users\\shenjianping\\AppData\\Roaming\\npm\\etc\\npmrc" heading = "npm" https-proxy = null if-present = false ignore-scripts = false include = [] include-staged = false init-author-email = "" init-author-name = "" init-author-url = "" init-license = "ISC" init-module = "C:\\Users\\shenjianping\\.npm-init.js" init-version = "1.0.0" init.author.email = "" init.author.name = "" init.author.url = "" init.license = "ISC" init.module = "C:\\Users\\shenjianping\\.npm-init.js" init.version = "1.0.0" json = false key = null legacy-bundling = false legacy-peer-deps = false link = false local-address = null loglevel = "notice" logs-max = 10 ; long = false ; overridden by cli maxsockets = 15 message = "%s" metrics-registry = "https://registry.npmjs.org/" node-options = null node-version = "v16.4.1" noproxy = [""] npm-version = "7.18.1" offline = false omit = [] only = null optional = null otp = null pack-destination = "." package = [] package-lock = true package-lock-only = false parseable = false prefer-offline = false prefer-online = false ; prefix = "C:\\Program Files\\nodejs" ; overridden by builtin preid = "" production = null progress = true proxy = null read-only = false rebuild-bundle = true registry = "https://registry.npmjs.org/" save = true save-bundle = false save-dev = false save-exact = false save-optional = false save-peer = false save-prefix = "^" save-prod = false scope = "" script-shell = null searchexclude = "" searchlimit = 20 searchopts = "" searchstaleness = 900 shell = "C:\\Windows\\system32\\cmd.exe" shrinkwrap = true sign-git-commit = false sign-git-tag = false sso-poll-frequency = 500 sso-type = "oauth" strict-peer-deps = false strict-ssl = true tag = "latest" tag-version-prefix = "v" timing = false tmp = "C:\\Users\\SHENJI~1\\AppData\\Local\\Temp" umask = 0 unicode = false update-notifier = true usage = false user-agent = "npm/7.18.1 node/v16.4.1 win32 x64 workspaces/false" userconfig = "C:\\Users\\shenjianping\\.npmrc" version = false versions = false viewer = "browser" which = null workspace = [] workspaces = false yes = null ; "builtin" config from C:\Program Files\nodejs\node_modules\npm\npmrc prefix = "C:\\Users\\shenjianping\\AppData\\Roaming\\npm" ; "cli" config from command line options long = true
总结一下就是需要设置:
1、新建需要的目录
根据需要新建node_global以及node_cache目录:
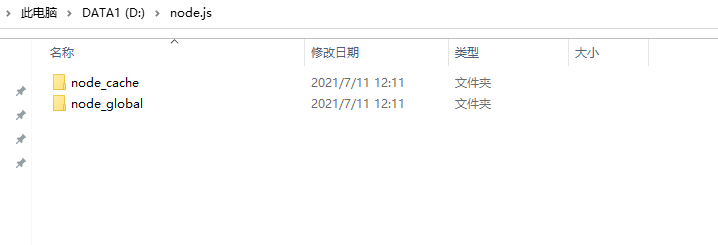
设置prefix:

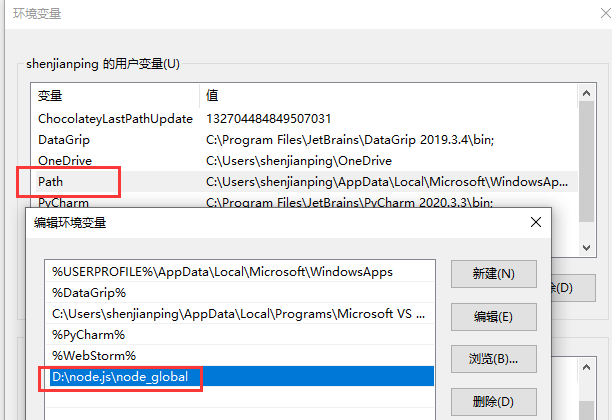
2、设置环境变量
修改用户变量中C:\Users\shenjianping\AppData\Roaming\npm修改为D:\node.js\node_global
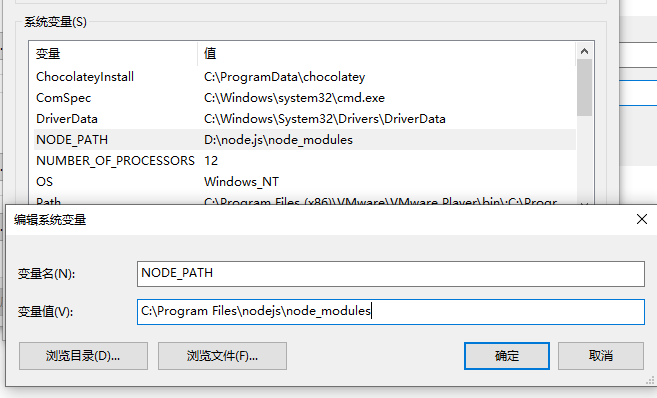
添加NODE_PATH,其值为:C:\Program Files\nodejs\node_modules,这是其软件安装目录中的node_modules。
3、测试
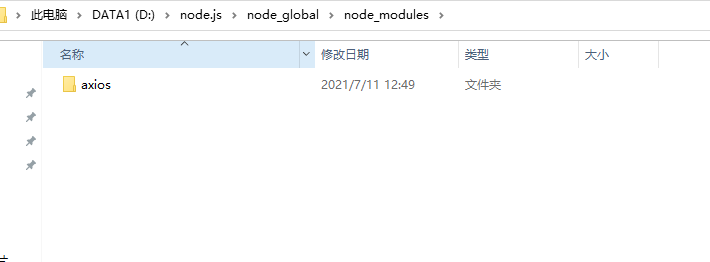
C:\Users\shenjianping>npm install axios -g added 2 packages, and audited 3 packages in 3s 1 package is looking for funding run `npm fund` for details found 0 vulnerabilities
此时查看axios的安装位置就在刚才全局安装目录中。
更多文章合集前往:
往期精彩文章
