一、文件初始化
移除一些没有用的组件或者文件:
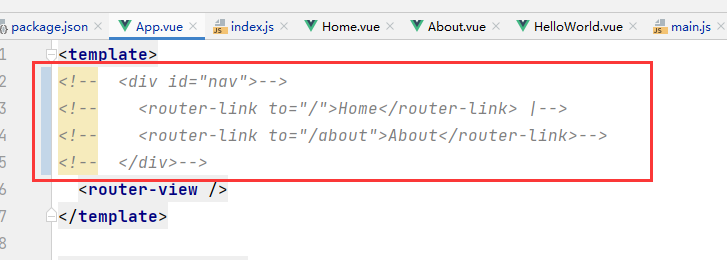
1、注释掉App.vue中的两个路由
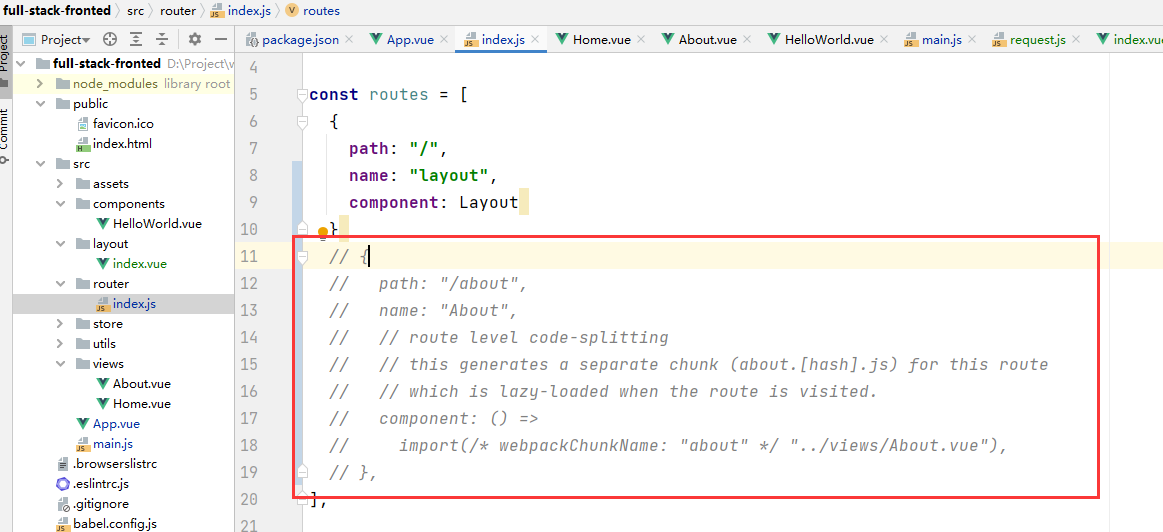
2、注释掉router/index.js文件中无用的路由
二、layout
1、映射路由
路由配置,在router/index.js文件中:
import { createRouter, createWebHistory } from "vue-router"; // import Home from "../views/Home.vue"; import Layout from "../layout"; import Authors from "../views/authors"; import Books from "../views/books"; import Publishers from "../views/publishers"; const routes = [ { path: "/", name: "layout", component: Layout, }, //进行路由配置,这些子路由都会在layout父组件中的AppMain组件中被渲染 { path: "/", name: "layout", component: Layout, children:[ //作者管理 { path: "/authors", component: Authors, }, //出版社管理 { path: "/publishers", component: Publishers, }, //书籍管理 { path: "/books", component: Books, } ] }, // { // path: "/about", // name: "About", // // route level code-splitting // // this generates a separate chunk (about.[hash].js) for this route // // which is lazy-loaded when the route is visited. // component: () => // import(/* webpackChunkName: "about" */ "../views/About.vue"), // }, ]; const router = createRouter({ history: createWebHistory(process.env.BASE_URL), routes }); export default router; const router = createRouter({ history: createWebHistory(process.env.BASE_URL), routes }); export default router;
2、页面布局
在layout目录下新建components目录,然后新建头部、左侧、主体部分组件的文件夹,最后后新建对应的文件:

AppHeader/index.vue
<template> <el-header class="header">Header</el-header> </template> <script> export default { name: "index" }; </script> <style scoped> </style>
AppMain/index.vue
<template> <el-main class="main"> <router-view></router-view> </el-main> </template> <script> export default { name: "index" }; </script> <style scoped=""> </style>SideBar/index.vue 参考:左侧导航栏
<template> <el-aside class="aside"> <el-menu :router="true" active-text-color="#ffd04b" background-color="#545c64" class="el-menu-vertical-demo" close="handleClose" default-active="/authors/" open="handleOpen" text-color="#fff"> <el-menu-item index="/authors/"> <i class="el-icon-menu"></i> <template title="">作者管理</template> </el-menu-item> <el-menu-item index="/publishers/"> <i class="el-icon-menu"></i> <template title="">出版社管理</template> </el-menu-item> <el-menu-item index="/books/"> <i class="el-icon-menu"></i> <template title="">书籍管理</template> </el-menu-item> </el-menu> </el-aside> </template> <script> export default { name: "index" }; </script> <style scoped=""> </style>
在布局中引入对应的组件即可。参考
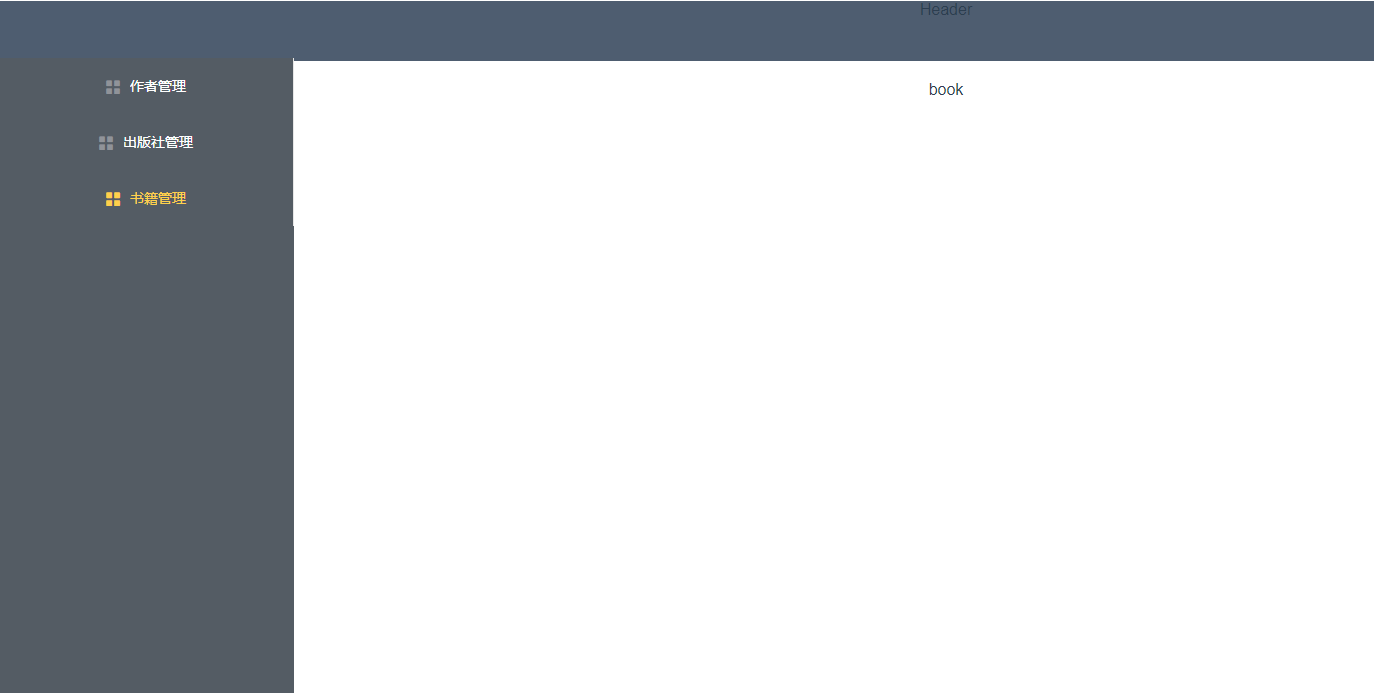
布局
<template> <div> <appheader> <sidebar> <appmain> </appmain></sidebar></appheader></div> </template> <script> import AppHeader from "./components/AppHeader"; import AppMain from "./components/AppMain"; import SideBar from "./components/SideBar"; export default { name: "index", components: { AppHeader, AppMain, SideBar }, methods: { handleOpen(key, keyPath) { console.log(key, keyPath); }, handleClose(key, keyPath) { console.log(key, keyPath); } } }; </script> <style scoped=""> .header { background: #4e5d70; } .main { position: absolute; top: 65px; bottom: 0px; left: 300px; right: 0px; background: white; } .aside { position: absolute; top: 65px; width: 200px; bottom: 0px; background: rgb(84 92 100); } </style>
显示 :